symbol lookup error: mkfs.ext3: undefined symbol: ext2fs_add_journal_inode2

while formatting a newly added disk to my ubuntu server I got this error.

symbol lookup error: mkfs.ext3: undefined symbol: ext2fs_add_journal_inode2

don’t worry too much if your situation is similar like mine then its easily fixable. after googling alot I got some hints that this is due to DELL APP ASSURE AGENT installed on ubuntu server.  Yes I have dell appassure agent “appassure-installer_ubuntu_amd64_5.4.2.192”
quick fix to resolve disk format issue is to Remove dell appassure agent , Reboot Server, Format your disk and mount etc as normal  , then install dell appassure agent to carry on backing up your server.

ok to un-install Dell appassure agent we need same version .sh  file which can be download from dell site as i allready have this on my server so Uninstall command is as below

./appassure-installer_ubuntu_amd64_5.4.2.192.sh -u

hit y  for yes to carry on un-installing agent and once finished just reboot the server.

once back on ,  I can now format my newly added disk without any issues.
——————————————————————————

root@ubuntus1:~# sudo mkfs -t ext3 /dev/sdc1
mke2fs 1.42.9 (4-Feb-2014)
Discarding device blocks: done
Filesystem label=
OS type: Linux
Block size=4096 (log=2)
Fragment size=4096 (log=2)
Stride=0 blocks, Stripe width=0 blocks
655360 inodes, 2621184 blocks
131059 blocks (5.00%) reserved for the super user
First data block=0
Maximum filesystem blocks=2684354560
80 block groups
32768 blocks per group, 32768 fragments per group
8192 inodes per group
Superblock backups stored on blocks:
32768, 98304, 163840, 229376, 294912, 819200, 884736, 1605632

Allocating group tables: done
Writing inode tables: done
Creating journal (32768 blocks): done
Writing superblocks and filesystem accounting information: done
——————————————————————————————————–

and can mount new drive and start using as normal and install Dell AppAssure Agent on server .

./appassure-installer_ubuntu_amd64_5.4.2.192.sh

hope this will help someone who using dell appassure on same server.

Regards

Harjeet Singh

Ubuntu Server Add new Hard Drive

at some point servers do need storage expansion, I got this ubuntu server 14:04 running on Hyper V,  and as it was running out of space so here is this how to about Ubuntu Server add new hard drive.

Lets start with listing/getting information about drives attached to server.

sudo lshw -C disk

this will present you with information about current or newly attached drives. as below
————————————————————————————–

*-disk:0
description: SCSI Disk
physical id: 0.0.0
bus info: scsi@0:0.0.0
logical name: /dev/sda
size: 50GiB (53GB)
capabilities: gpt-1.00 partitioned partitioned:gpt
configuration: guid=fb9fc69a-9620-40e7-b1af-86d5e32c56b0 sectorsize=4096
*-disk:1
description: SCSI Disk
physical id: 0.0.2
bus info: scsi@0:0.0.2
logical name: /dev/sdb
size: 20GiB (21GB)
capabilities: partitioned partitioned:dos
configuration: sectorsize=4096 signature=078fcf65
*-cdrom
description: SCSI CD-ROM
physical id: 0.0.1
bus info: scsi@0:0.0.1
logical name: /dev/cdrom
logical name: /dev/sr0
capabilities: audio
configuration: status=ready
*-disk:2
description: SCSI Disk
physical id: 0.0.3
bus info: scsi@0:0.0.3
logical name: /dev/sdc
size: 10GiB (10GB)
configuration: sectorsize=4096
————————————————————————————————-

now we can see all disks and newly add disk here is *-disk2,  NOTE DOWN logical name : /dev/sdc

so its “sdc” disk that I need to add to server.

Lets partition the disk using below cmd

sudo fdisk /dev/sdc

type m for further information on FDISK usage
————————————————————–

root@ubuntus1:~# sudo fdisk /dev/sdc
Device contains neither a valid DOS partition table, nor Sun, SGI or OSF disklabel
Building a new DOS disklabel with disk identifier 0xb9e19996.
Changes will remain in memory only, until you decide to write them.
After that, of course, the previous content won’t be recoverable.

Warning: invalid flag 0x0000 of partition table 4 will be corrected by w(rite)

The device presents a logical sector size that is smaller than
the physical sector size. Aligning to a physical sector (or optimal
I/O) size boundary is recommended, or performance may be impacted.

Command (m for help): m
Command action
a toggle a bootable flag
b edit bsd disklabel
c toggle the DOS compatibility flag
d delete a partition
l list known partition types
m print this menu
n add a new partition
o create a new empty DOS partition table
p print the partition table
q quit without saving changes
s create a new empty Sun disklabel
t change a partition’s system id
u change display/entry units
v verify the partition table
w write table to disk and exit
x extra functionality (experts only)

Command (m for help):

——————————————————————————

type  n   to create new partition.

I will use primary  so type p  for primary. and just hit ENTER for next 2 prompts about number and size  as i want to just have single partition using all size. so start and finish point keep default.

Finally type w  and hit enter to write information about partitioning. and this will come out of FDISK menu.

After creating single partition next we will need to format the partition ,  I will be using EXT3  , commands for EXT3 and EXT4 are same.   so its SDC1  we are going to format.

sudo mkfs -t ext3 /dev/sdc1

Now if all goes good this should format the disk and ready for mount.  But I had little issue here due to reason that I allready had DELL APP ASSURE agent installed and i got this error.
Creating journal (32768 blocks): mkfs.ext3: symbol lookup error: mkfs.ext3: undefined symbol: ext2fs_add_journal_inode2,  if you don’t have DELL APPASSURE Agent installed format should finish fine for you as normal .

Next step is to create mount point and mount the newly formatted drive and add info for automatically boot on startup

lets create mount point i will go upto top level by cd .. , cd ..   just to ensure not creating new dir at wrong place.

mkdir data2

now edit fstab to add mount point informaiton

vi /etc/fstab

and add below line to end of file

/dev/sdc1    /data2   ext3    defaults     0        2

save/quit your editor. make sure you use device information and mount point name etc according to your server

sudo mount -a  

this will mount drive. also it will be mounted on start up etc.

just to confirm use “df -h” to display drives information
———————————————————————
Filesystem Size Used Avail Use% Mounted on
/dev/sda2 48G 8.7G 37G 20% /
none 4.0K 0 4.0K 0% /sys/fs/cgroup
udev 482M 4.0K 482M 1% /dev
tmpfs 99M 252K 99M 1% /run
none 5.0M 0 5.0M 0% /run/lock
none 493M 0 493M 0% /run/shm
none 100M 0 100M 0% /run/user
/dev/sda1 511M 3.4M 508M 1% /boot/efi
/dev/sdb1 20G 45M 19G 1% /media/cryodata1
/dev/sdc1 9.8G 23M 9.2G 1% /data2

——————————————————

as we can see last line shows us /dev/sdc1  is mounted on /data2

hope this will help someone.

Regards

Harjeet Singh
Ubuntu Server Move HDD to new Box Network Adaptor missing

I came across this issue today, got  Ubuntu Server 12.04 LTS running on a DELL PC OptiPlex 380 box. for some reason I had to move this to a new similar DELL PC. now I took sata HDD out from existing PC and installed this to new PC.

having thought that hardware is exactly same so I won’t have any issue. but after starting up found out that Networking is not working at all,
ifconfig  shows me only one local adaptor .

ok not to worry here is fix : how to fix missing network adaptor after moving Ubuntu server HDD from one box to another.

Edit “70-persistent-net.rules” files using VI or your faveroute editor.

vi /etc/udev/rules.d/70-persistent-net.rules

and look for similar lines as below , at bottom.  starting with SUBSYSTEM. you might have only one line but for some reason my file had two such lines.

# PCI device 0x8086:0x1004 (e1000)
SUBSYSTEM=="net", ACTION=="add", DRIVERS=="?*", ATTR{address}=="0a:00:25:c1:b3:eb", ATTR{type}=="1", KERNEL=="eth*", NAME="eth0"

Delete these lines that start with SUBSYSTEM  or simply comment out #SUBSYSTEM and so on.

save file and exit your editor.  for vi its ESC  then type “:wq”

reboot system. and now it should just work as normal.
hope this will help someone.
Regards

Harjeet Singh


Install Fog Server 1.1.2

Hello Guys, in this post we will go through required steps to Install Fog Server 1.1.2 on ubuntu server 12.04 LTS,  if you have clean install ubuntu server 12.04 LTS with static IP that’s well and good if not you can refer to this post to get going with Ubuntu Server 12.04 Install . for more info on Fog project please visit http://www.fogproject.org/

so once we have a working clean install of Ubuntu Server 12.04 LTS we can now proceed with Fog Server Installation.

Installation of Fog Server on ubuntu 12.04 is very simple and straight forward and normally involves below steps.  i have done this on my server and all works fine for me , i hope this should also work for you as well.

  • Login to Ubuntu Server via Putty, using Root Username/password
  • now i like to keep things clean so before we download anything i would go upto root level using cmd “cd ..” “cd ..”  and now will create a new Directory called FOG using below cmd
  • mkdir FOG
  • change directory to Fog using below cmd
  • cd FOG
  • now we will download fog install files  download latest fog 1.1.2 (latest at this time) using below cmd
  • wget http://optimate.dl.sourceforge.net/project/freeghost/FOG/fog_1.1.2/fog_1.1.2.tar.gz
  • now time to unzip the archive using below cmd
  • tar xf fog_1.1.2.tar.gz
  • change directory to BIN under unzipped fog version named directory using below cmd
  • cd fog_1.1.2\bin
  • now run the installer using below cmd to install fog server 1.1.2
  • sudo ./installfog.sh

Install fog server 1.1.2

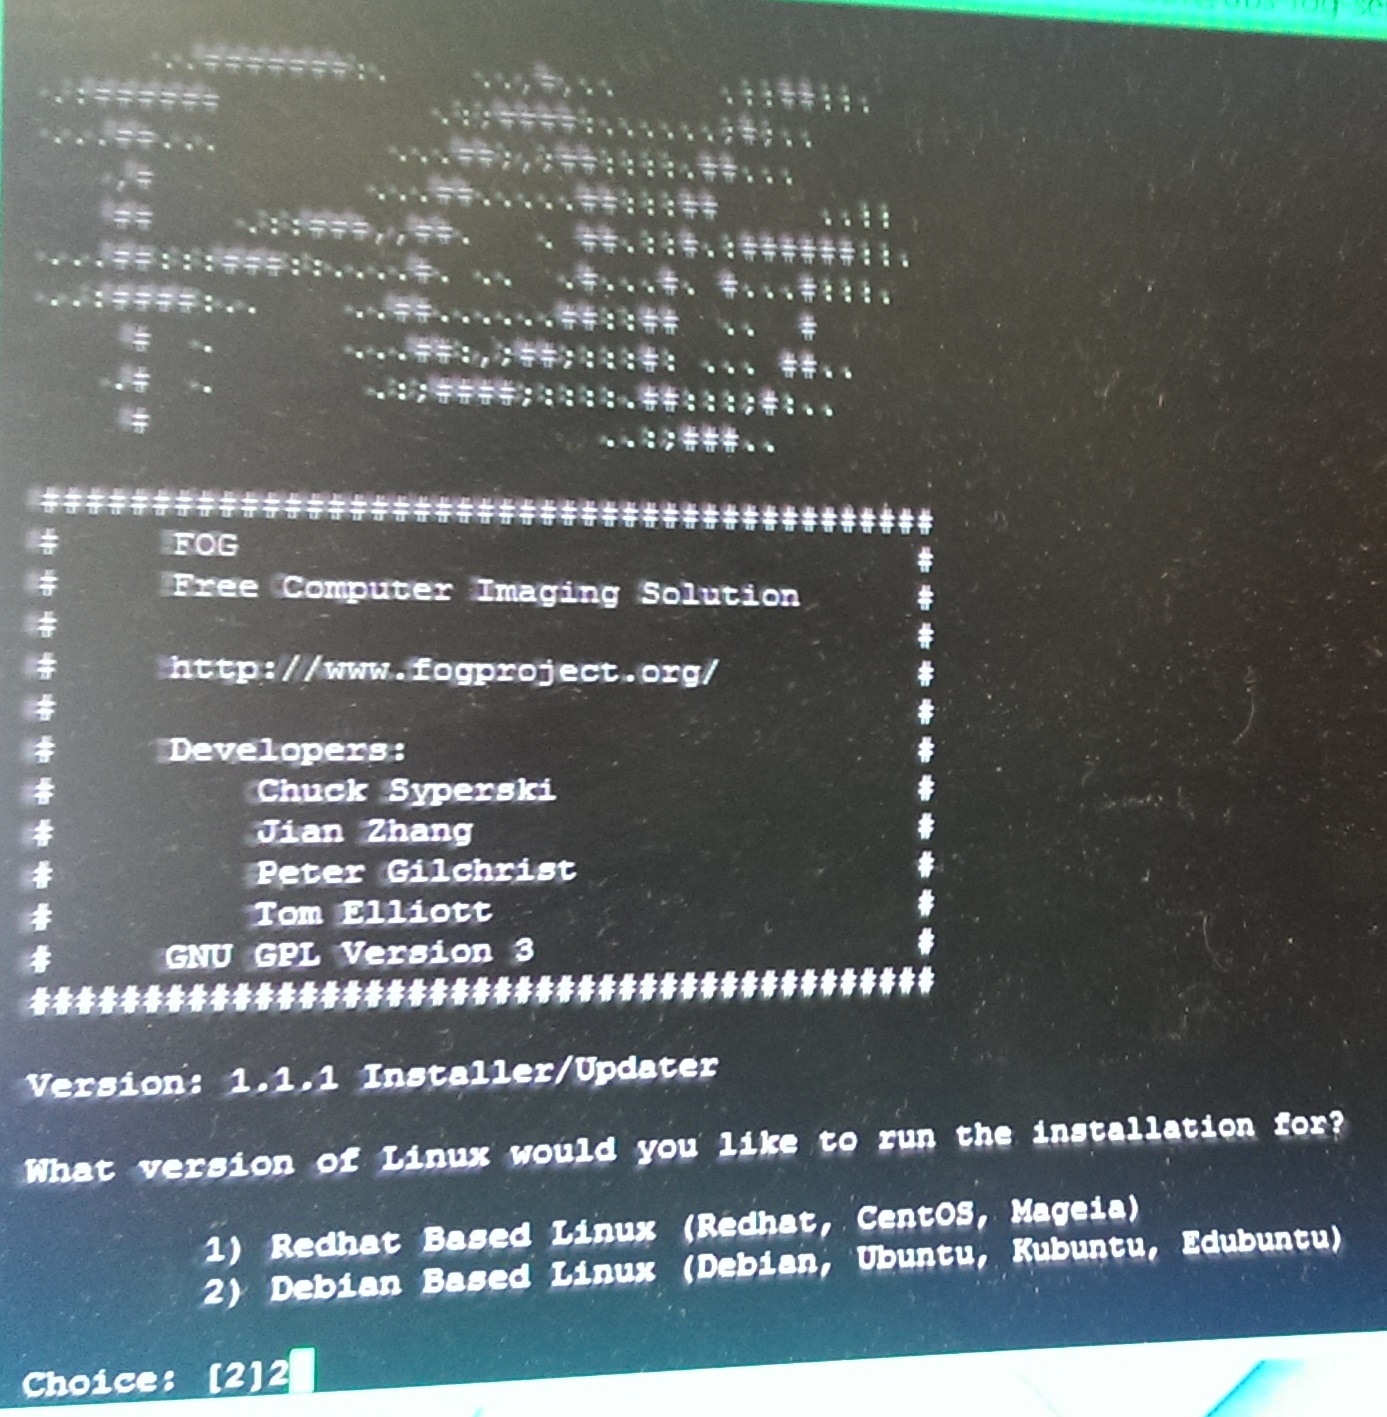
  • we will select option 2  for ubuntu. hit enter to proceed with install.
  • we will keep default static IP as it is, now as I allready got DHCP server in my environment so i will not use fog’s inbuilt DHCP server and will say NO to all options now on and only Yes to last Install option.

during install this will ask for mySQL root user password.  i have used same root user password.

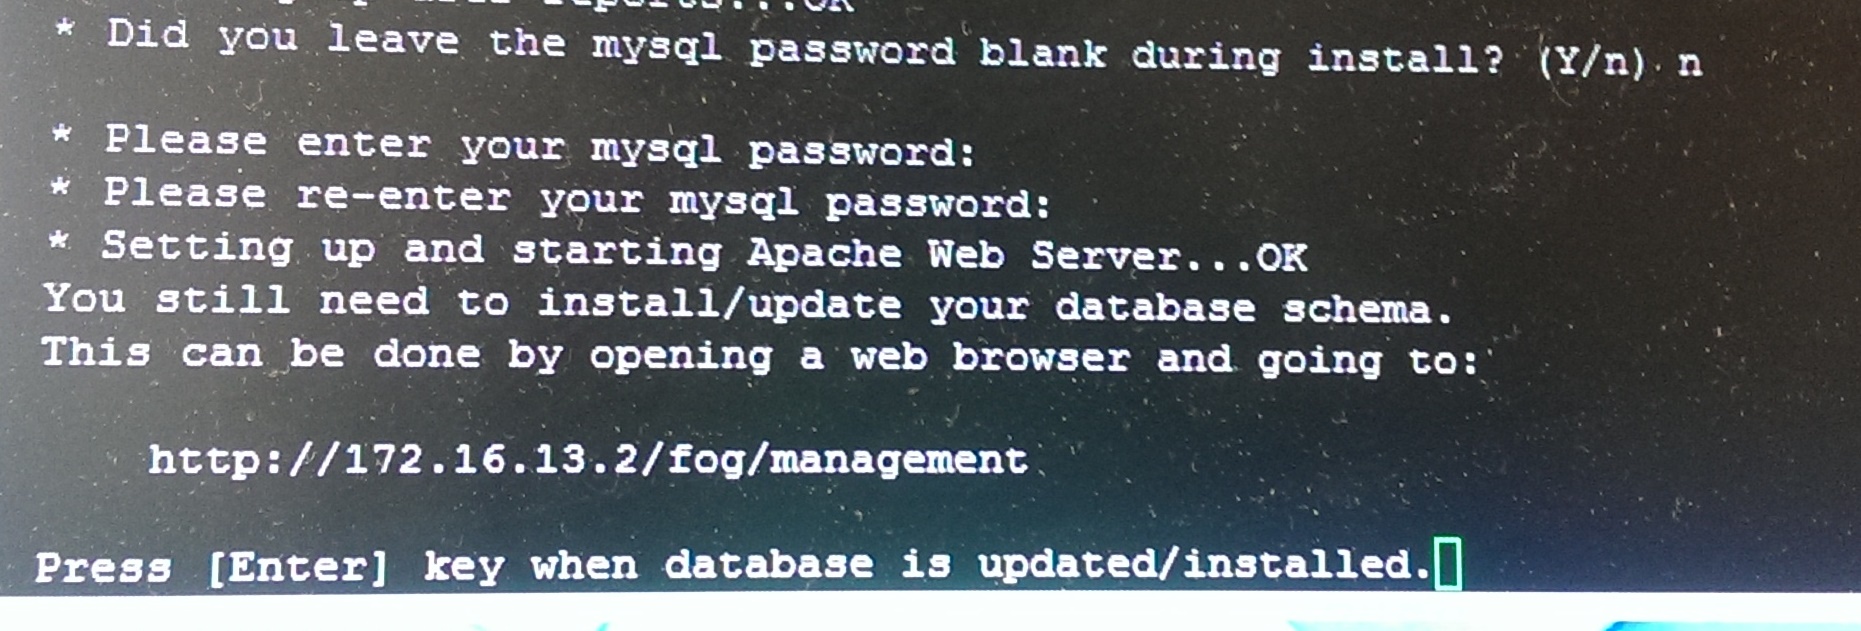
at the end below prompt comes

  • did you leave your mysql password blank during install ? : n
  • enter same password root password you used earlier during install.
  • setup should go ahead and come to final step.

Install fog server 1.1.2


before hitting Enter to finish install you need to go to web control panel for fog server by using give URL/IP link in install

login with default fog login details

username = fog

password = password

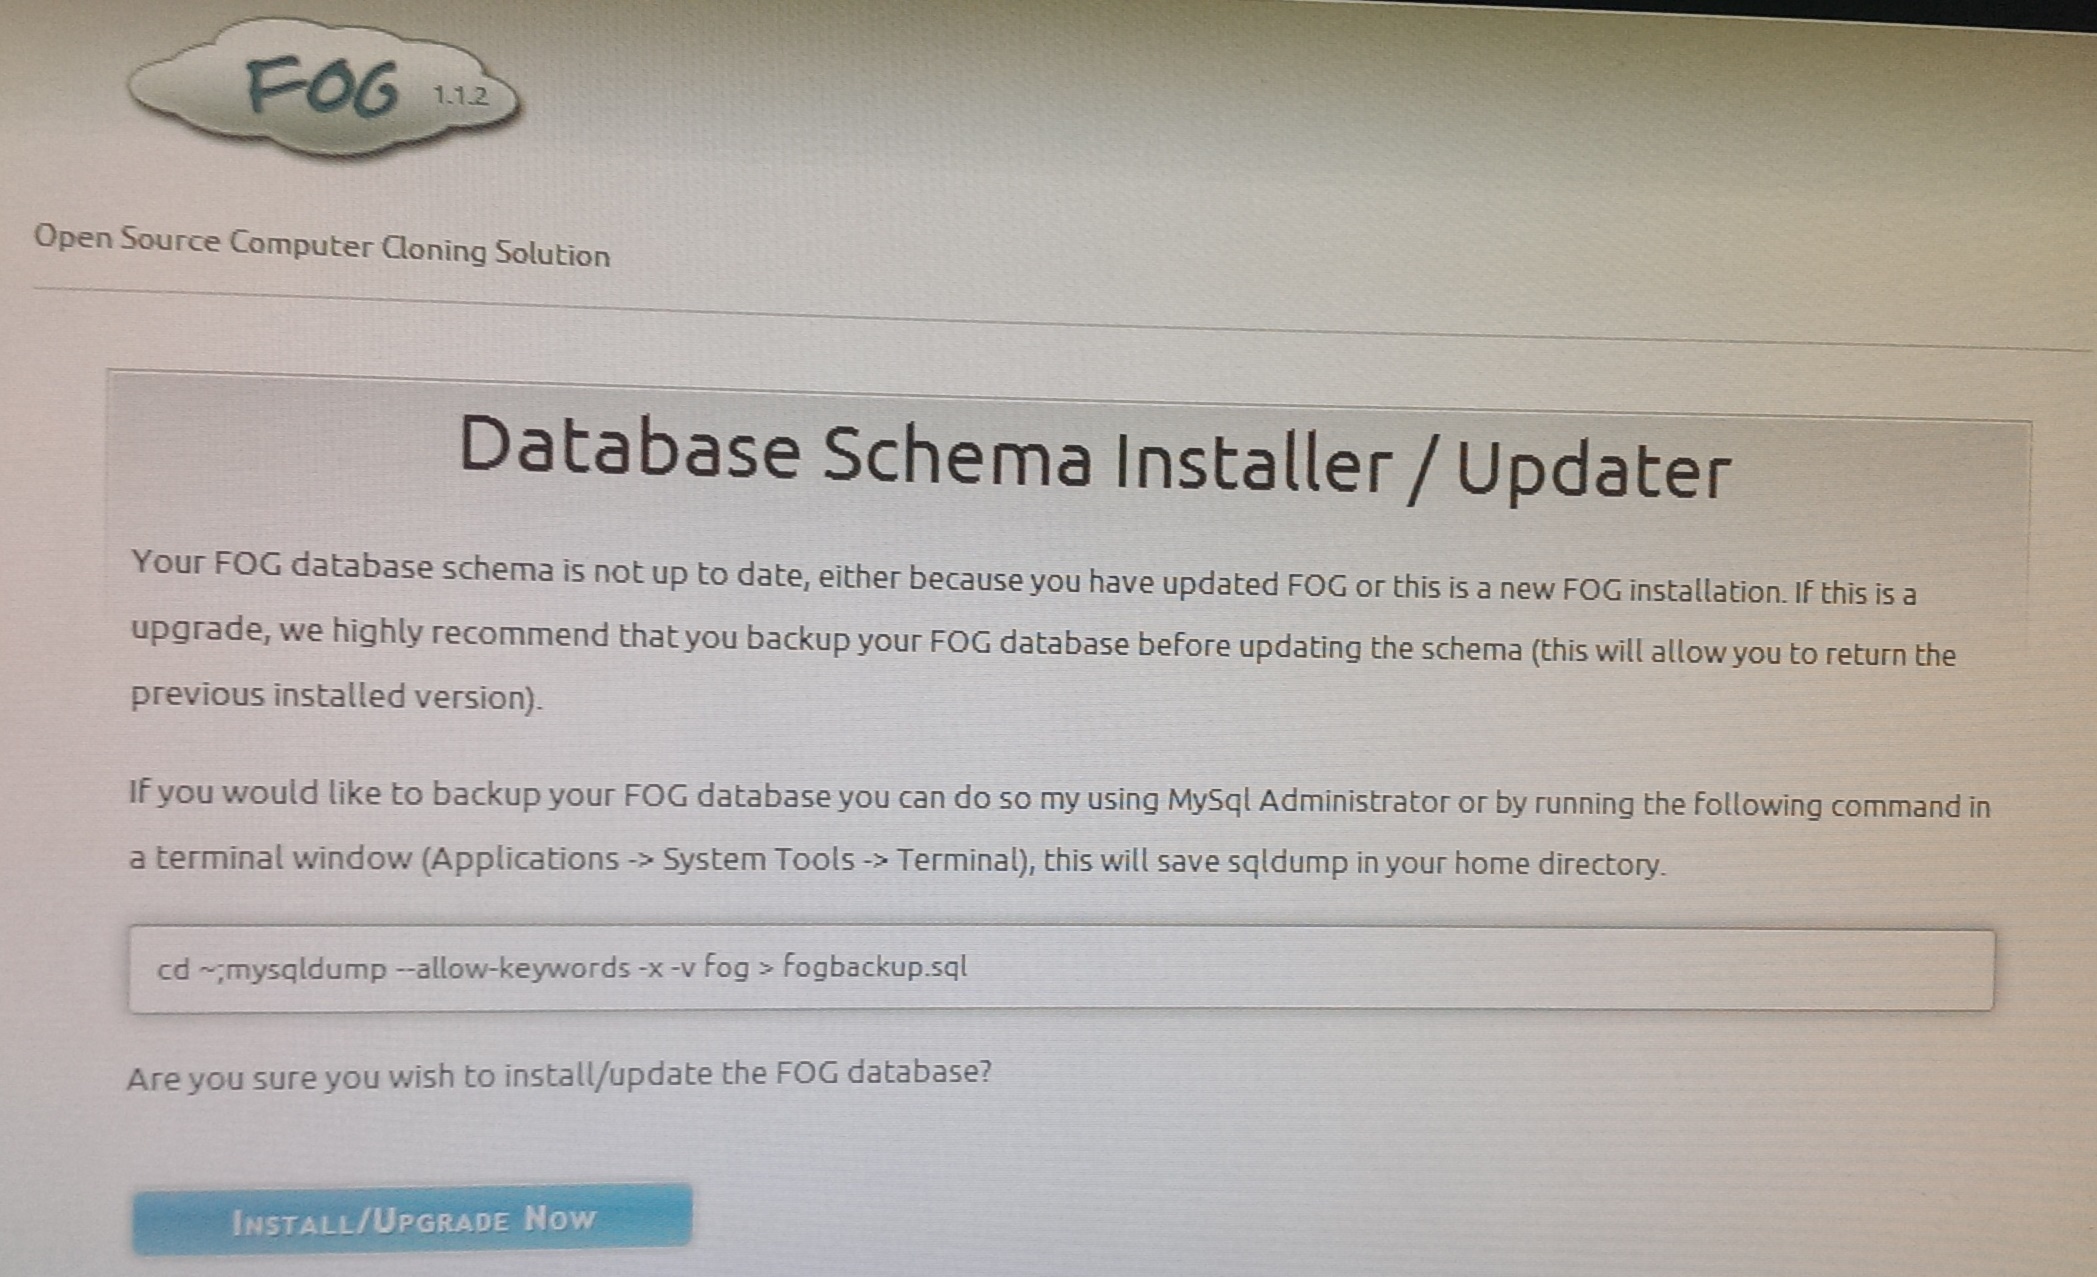
Fog server install Schema

click on install/upgrade now, this should do the trick and confirm that its done and you can login to fog server,

now Hit enter on Putty console to complete install process.

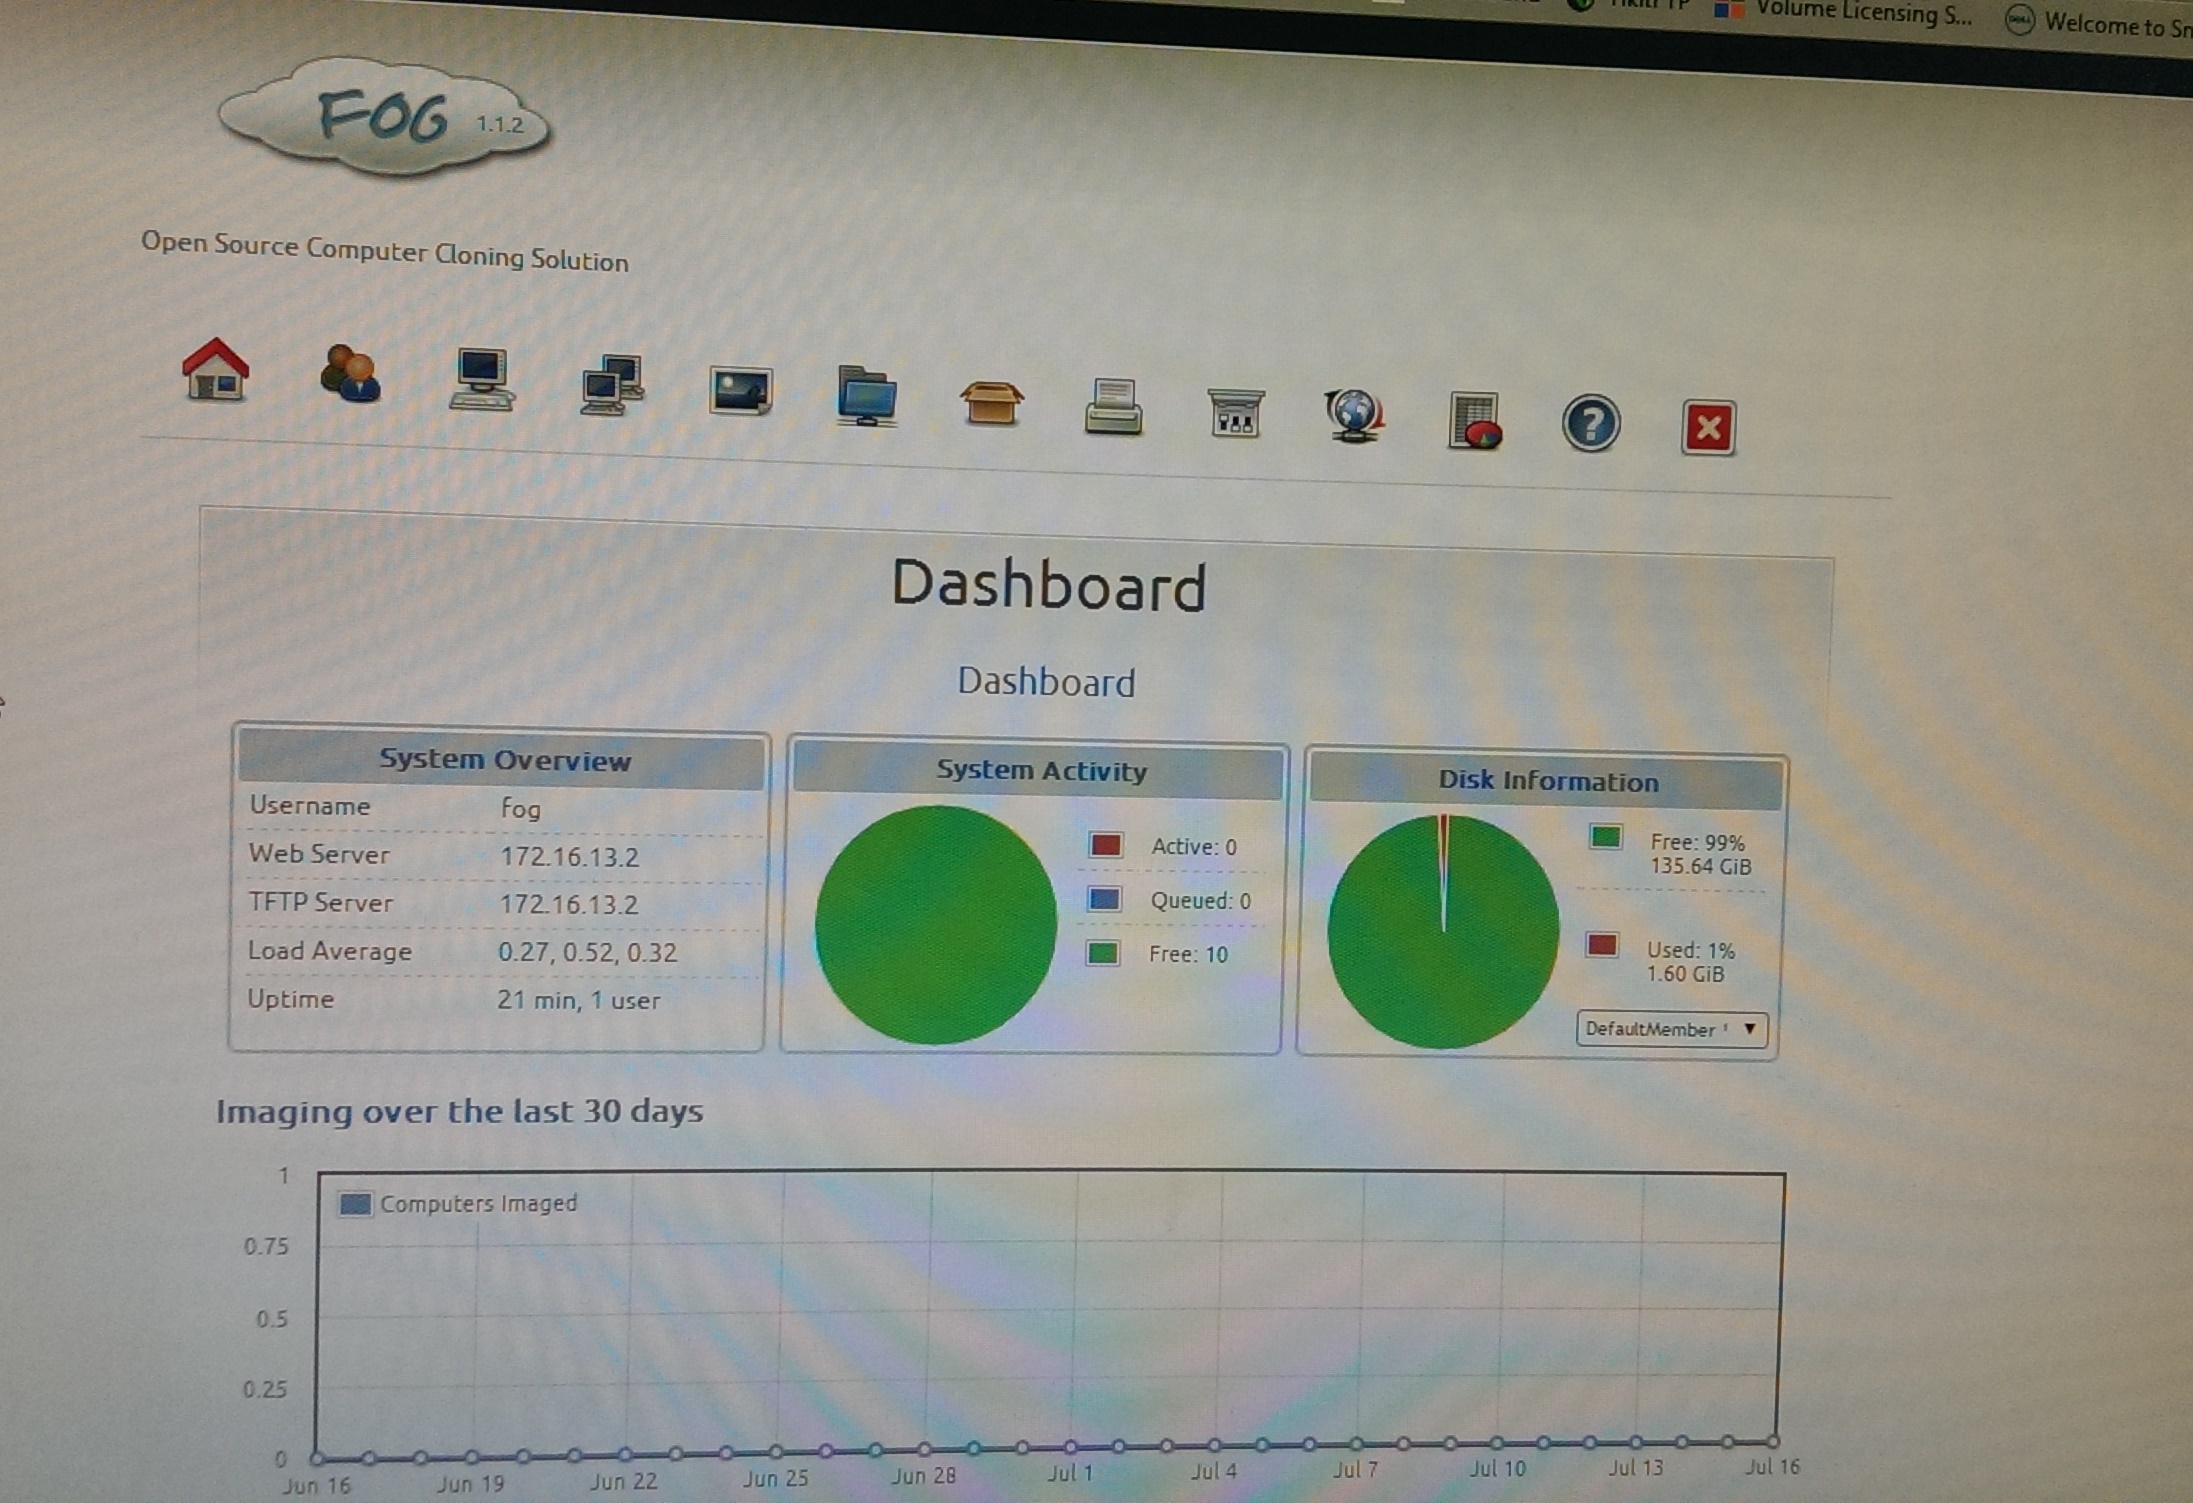
and here we go , we have working fog server.

Fog Server 1.1.2 Web GUI
Fog Server 1.1.2

once again thanks for your time and positive comments welcomed.

Thanks

Harjeet Singh (Harry)


install ubuntu server 12.04 LTS

In this article I will be going through basic steps for installing Ubuntu Server 12.04 LTS, this is actually part of another article “Install Fog Server” just to cover whatever is needed for a working setup of Fog Server I am covering installation of base OS i.e. Ubuntu Server 12.04 LTS.

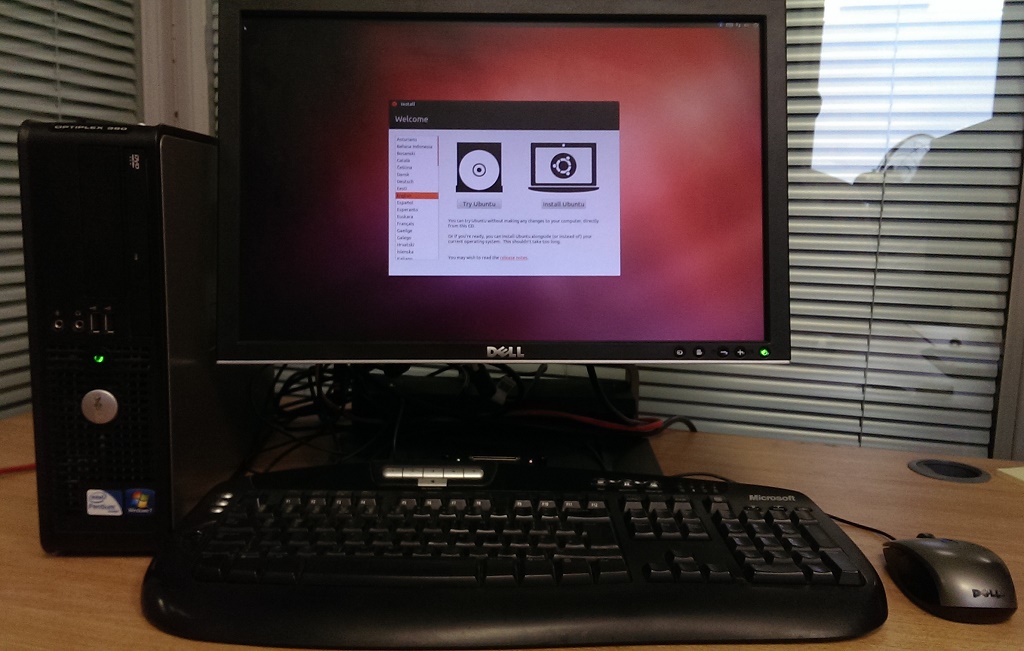
lets start the fun,  I got this old Dell PC ‘Optiplex 380’ to test on.

Install_ubuntu_on_Dell_PC
Dell Optiplex 380

This is actually quite fine for running a Fog Server Setup based on Ubuntu Server,

  • Download ISO file from ubuntu site this is 32bit ubuntu server 12.04 “not latest” but I want to use this as it works perfectly fine, had some issues with 14.04 :-(.  once you got CD ready boot your PC/Server from that CD and enter the Install mode.

    ubuntu_boot
    ubuntu_boot_screen
  • Just follow very basic steps like keyboard, language selection and keep hitting ENTER.
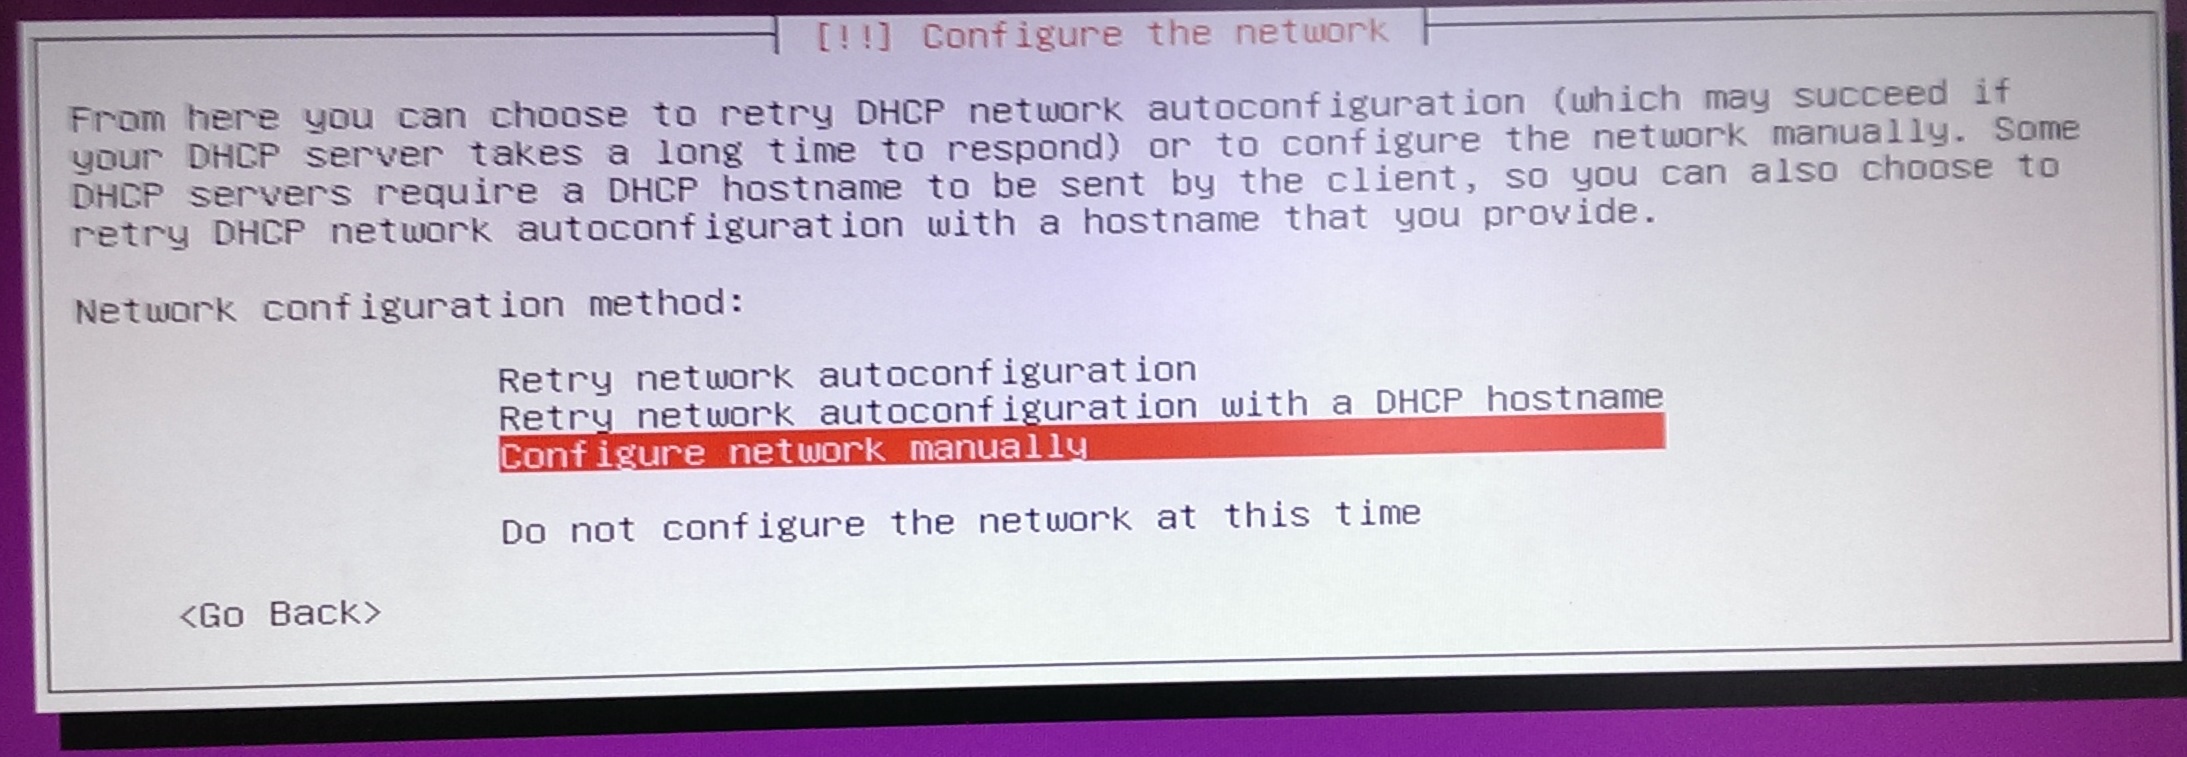
  • Important step is Static IP as for this server we need static IP , during install it will try to get IP from your DHCP server if you have one running, if not it will say failed to get IP and give you options to manually enter IP, or even if its taken IP automatically, then it will present you with hostname Screen.  now here I will hit “Go Back”  so that we can define IP parameters manuually.

Ubuntu Server IP setup

  • Hit Go Back and you will get manually IP setting scree.

IMAG0943

  • go through manual IP setup process, then simply follow the instructions and best to use “Guided Use Entire Disk”  option for disk format etc. so this will actually utilize entire disk .
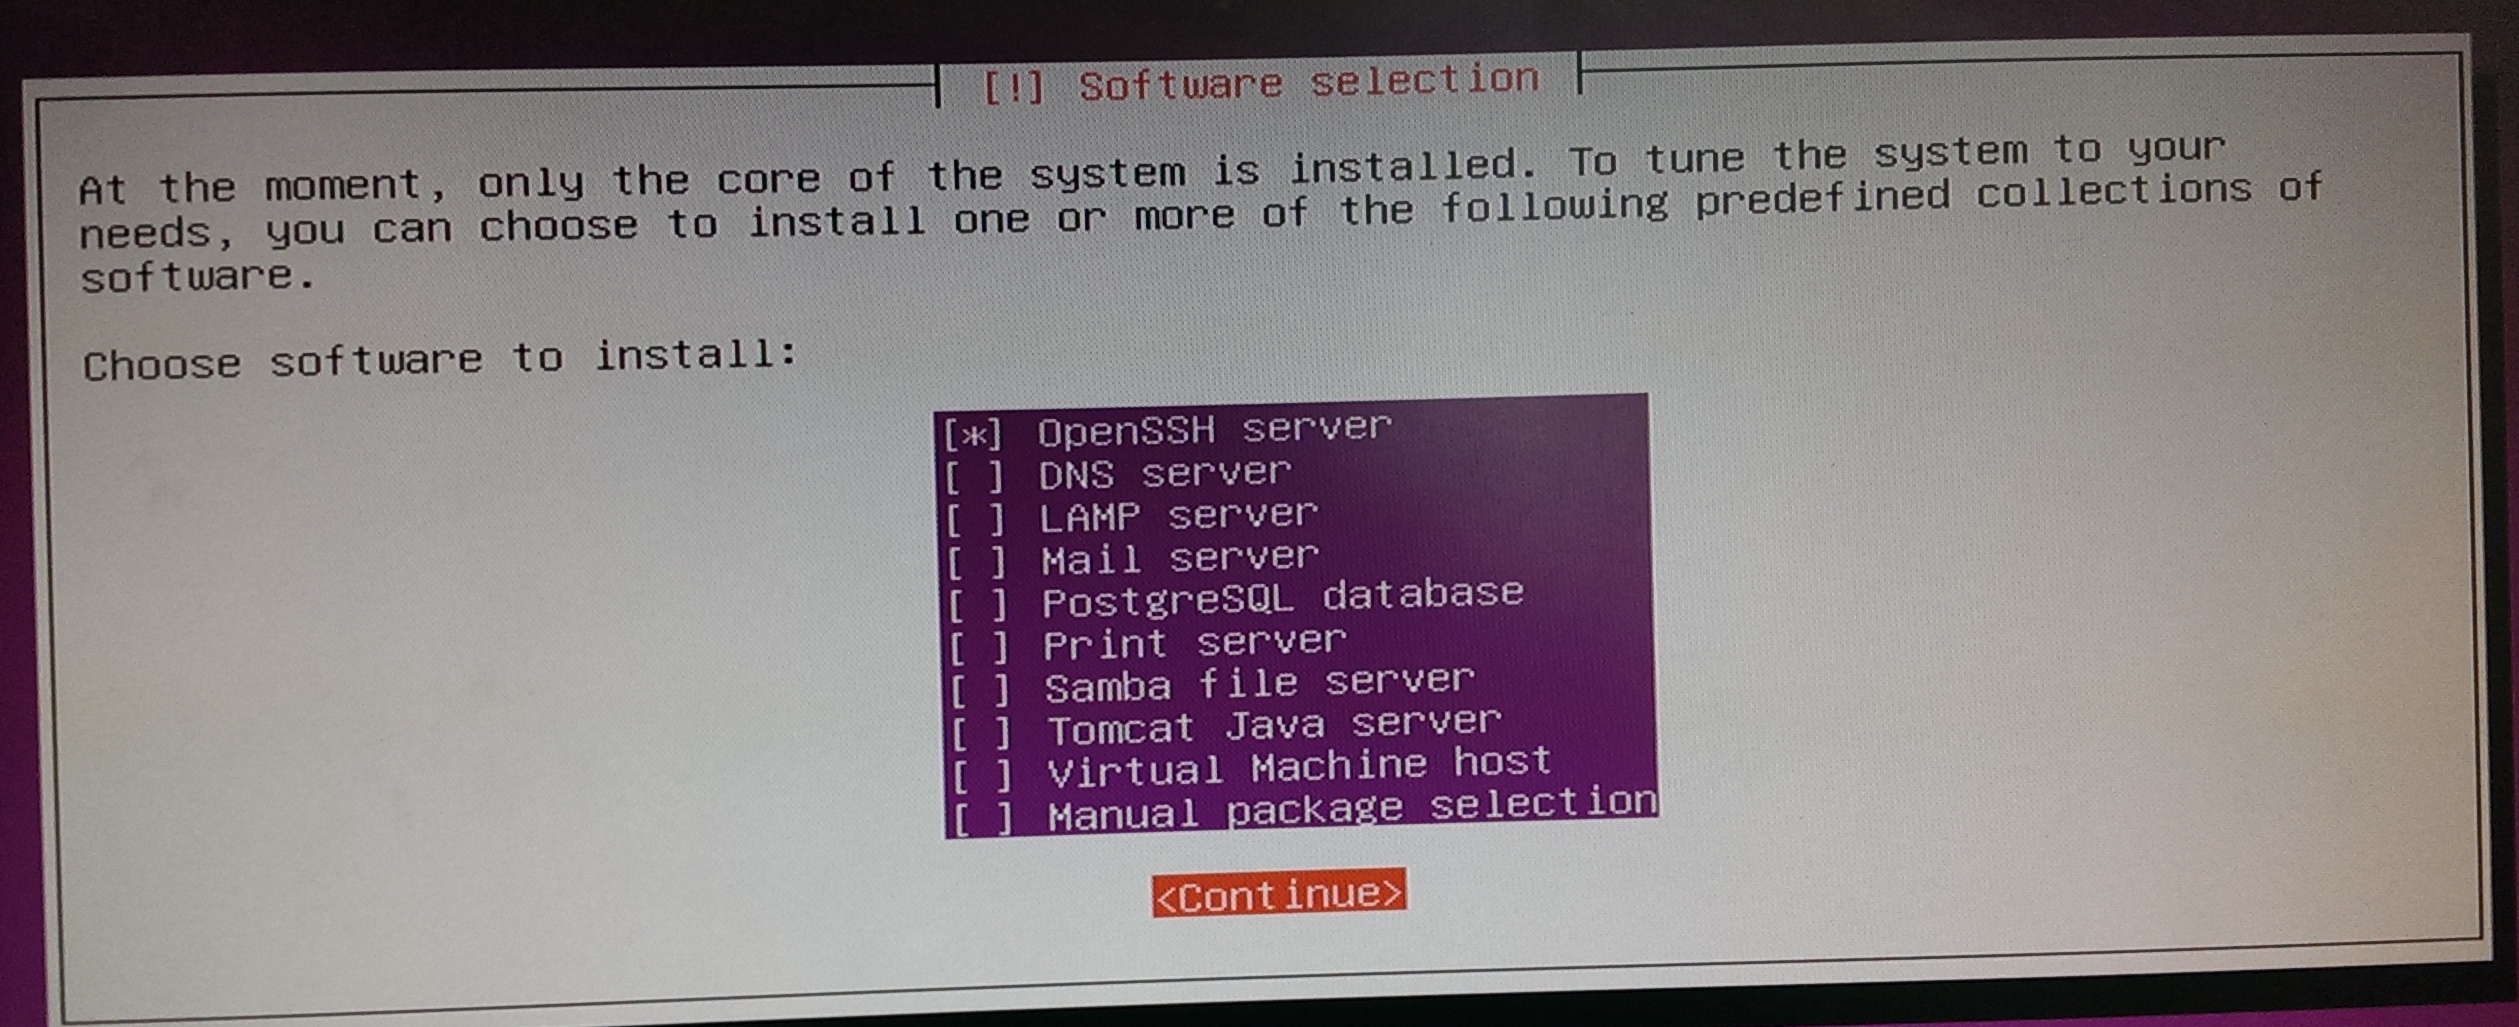
  • at select and install software screen we will just select, SSH server, so that we can get in via putty etc remotely.

select and install ubuntu

  • hit continue and this will proceed with install process,
  • At last say yes to “Install the GRUB boot loader to master boot record”
  • install should complete and ask you to remove disk and system will reboot. ready for you to login to console with username/password you created during install “this is not root user yet”
  • Now we need to create password for Root User so we can login using root remotely via putty .
  • login with standard username/password you created during install then enter below command.
  • sudo passwd
  • this will ask you to enter your standard user password twice then ask you to setup new password for root, here you can define any good password for Root user.
  • now we can login remotely via putty using IP address with root user, i would recommed doing “apt-get update” and “apt-get upgrade” just to install aviable updates etc.

with this you should have minimal running Ubuntu server,  ready to install Fog server or any other applications if you have plan for.

thanks  for reading. positive comments welcome.

Regards

Harry